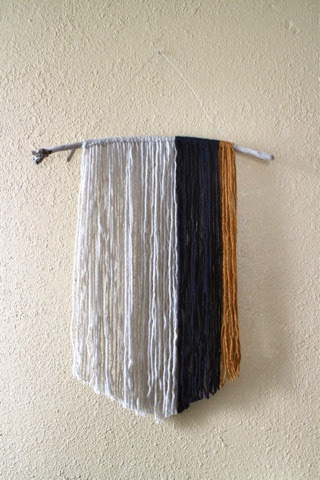
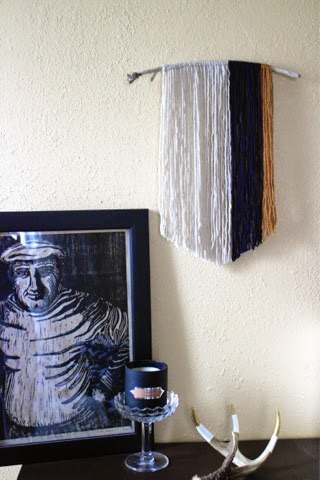
I don’t know about you, but i’ve been oohing and ahhing over every wool, yarn or weaved art installation i’ve been seeing online. I love the texture, the earthiness and interest it brings into any space. It's a great way to add art without spending a fortune and the best part is that it will be one of a kind.
Click through for the easy DIY steps to making your own yarn wall art piece!
Supplies:
- Assorted wool (I used mustard, white and navy)
- Scissors
- Circular dowel cut to desired length OR dig in your craft closet and find a piece of beach drift wood like I did!
- String
TIP: If you don’t have a saw to cut your dowel, you can get your local hardware store to cut it to length for you.
Step 01: Work out how long you want your longest part of the wall hanging to be and cut a piece of wool twice that length.
Fold over the wool length in the middle with both pieces side by side. If you pinch both these pieces together about an inch from where they fold over, you’ll see a little loop form.
Fold the loop end over the length of dowel and then pull the ends from underneath the dowel and through the loop.
You should end up with one little knot like you see above.
Step 02: Keep knotting your wool until you are happy with the distance you have covered across your dowel rod.
I used some contrasting colours at the ends as well.
Lay your hanging flat and cut diagonally up from the middle of the bottom wool lengths to give your hanging an angular edge.
Try to keep the wool flat as you cut. To make things easier, you could draw a line to follow on a piece of paper.
Add some string to either end of your dowel and you’re easy macrame wall hanging is ready to go!
I can picture this in some bright neon colors that would make a dark corner of your home pop with happiness.


No comments:
Post a Comment