Pages

Monday, March 30, 2015

{DIY} Monogram Monday: Tea Towel Edition

Happy Monday!! 
I've been overly obsessed about monogramming everything possible with my initials. Monogramming seems to be a huge thing lately, ie- my latest {diy} project!

Monogrammed Tea Towels!


Supplies:

  • Tea towels — Choose flat ones, without much texture or raised weaving.
  • Washable textile paint
  • A paint brush — A thin watercolor brush or small foam brush will do. 


I scored these West Elm look-a-likes from TjMaxx for $5.99!!


Figure out the layout of where you want your initials on the towel. Hint: the proper way to monogram is to use your first name initial, your last name initial in the middle, then you middle initial last. 


I opted for *gasp* of course: gold paint and a simple, modern stencil font. 


The end result is a super simple West Elm inspired towel. Now get monogramming!


Monday, March 23, 2015

{DIY} Chalkboard Serving Tray


This is such a great DIY, for you or to make as a gift. It is fairly easy...patience is what is the hardest part.

[SUPPLIES]
Chalkboard paint
Paint brush
Tray (ceramic, aluminum, wood)
Painters Tape or Masking tape


First things first. Work smarter not harder :) That will never leave my head. Thank you beauty school. Anyways, tape a border around your painted area. This is going to be your savior, I promise.

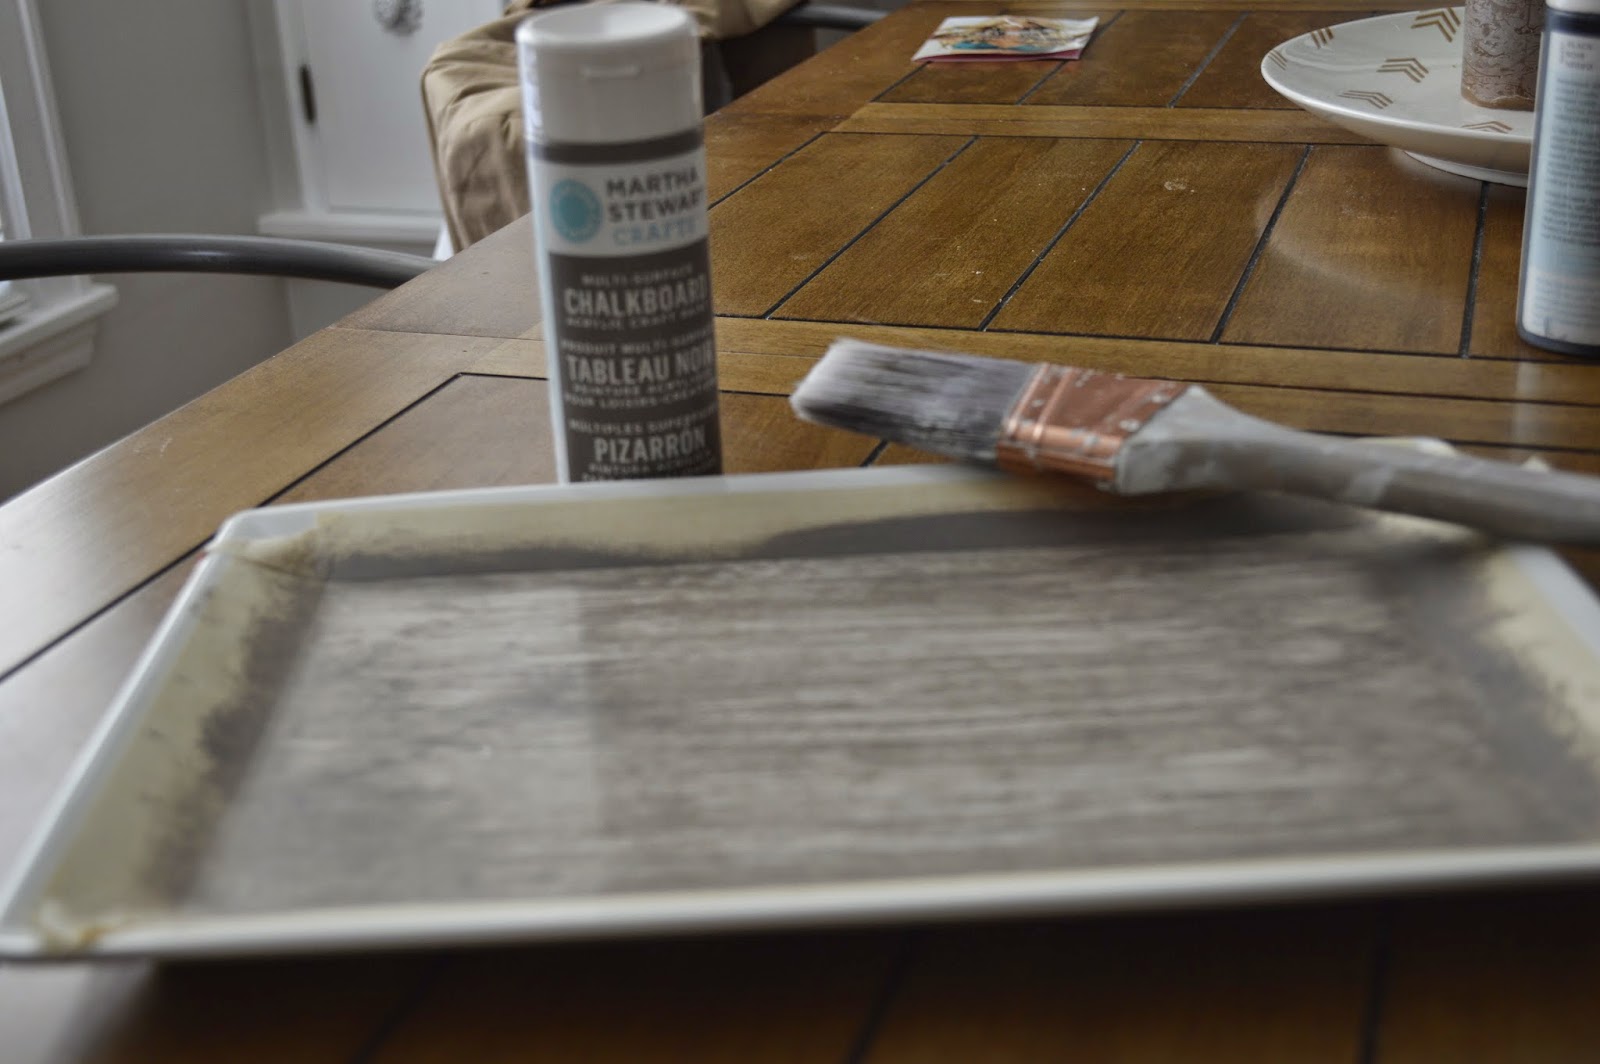
Then, you guessed it paint inside the lines. A VERY THIN COAT!!! (Not the best picture, but you get my point.)


Let it dry. Seriously, do not rush this part. If you are to quick to put the next coat on you will take the first off. It needs time to harden. (I let it sit overnight and did another project meanwhile.)

I painted a total of 3 thin coats. Then tore the tape off and was left with a super cute tray with perfect lines :)

Try it. It can be used to serve different cheeses, jams, spreads, fruit or anything that may need a little label or just a little cuteness and personality.

Sunday, March 15, 2015

Hello Blonde && Brunettes New Salon Space!


Happy Monday!

Heidi and I are so excited to finally be in our new salon rental space! We are so happy to be working with an owner who truly works her butt to make the space perfect and beautiful for the renters and our clients. 

If you haven't had an appointment at our neat new space yet, here's a little sneak peak for ya. We've had so much fun decorating our suite and are excited to make it feel even more 'homey!'


IKEA hack alert! We used this curtain rod to hang our partly used haircolor on. 


We clearly love plants and are planning on getting more!


Our diy floor mat found its home under our little fridge. 


Doterra essential oils! Has anyone else used these amazing oils yet? We're excited to get 726289 more from Lindsay's client, Jess! If you're interested check out her page:

www.mydoterra.com/jessvento


The help yourself area at the front reception will include many coffee and tea varieties for your liking!


The waiting/ reception area with plenty of seating and also an iPad check-in station. 

We're super excited for all of our clients to see our new space. We're super proud of how far we've come in the last few years!


Monday, March 9, 2015

{DIY} No Sew Pillow Case


Here's one of my deepest darkest secrets, I cannot sew! I have tried and I guess it wasn't that bad, but I also don't own a sewing machine. And quite frankly it's not on my list to purchase...at least not before the cricut machine or cameo :)

So today, I am going to show you how to make a pillow case with just a few inexpensive supplies.

Supplies
+Fabric
+Scissors
+Heat and Bond Iron On Adhesive Ultrahold
+Iron
+Pillow Insert

Before you go out and purchase a pillow insert check your local goodwill or home goods for inexpensive pillows...you're not going to see them anyways.

Instructions
Lay your fabric out and set your pillow on top. Cut around your pillow leaving about 3/4-1 inch of extra material on all 4 sides.You are going to need two separate pieces that are not attached on any sides.


Once you have completed the last step you are going to want to heat up your iron and set up your ironing board.
Flip the 2 individual pieces so that the pretty sides are facing each other and the unprinted sides are facing out.

Rip off a piece of Heat and Bond long enough for one of the sides and sandwich that pieces between the two pieces of fabric. You will be laying the tape on the pretty side but ironing on the unprinted side.


Fold the other fabric square down and iron until it is completed sealed. (about 3 secs per section)
**Never iron directly onto Heat and Bond

Repeat this step to 2 more sides leaving one side open.

Once you have completed those steps you are going to want to take the fourth side and bond as well, however you want to leave a gap big enough for your pillow to fit through. 


Now take the pillow case and flip it right side out.


Insert your pillow and carefully place a piece of Heat and Bond in between the two pieces of fabric and iron. If it is easier to first iron a nice crisp edge before laying your tape down do that first. Also note that you will be creating a hem like edge.


There you have it. Pretty cool right? Take that Singer and Bernina! lol

Monday, March 2, 2015

{DIY} Customized Door Mat

Hey you guys!

I hope everyone had a nice weekend. I'm officially back from Florida and am a bit overwhelmed with being back to reality. As you guys know, Heidi and I were suppose to move into our new salon yesterday the 1st but there was a hiccup and we can not move in until next week (super sad face). BUT, we'll be super excited to share some pictures with you in the next couple weeks. 


Heidi and I did quiet a few weekends of DIYing for our new salon space. I'm excited to share this DIY mat with you!:

+supplies+

Outdoor door mat (I found ours at Home Depot for 10 bucks!)
Stencil lettering: pick whatever font you love (Michaels)
Acrylic paint: we choose classic black
Paint brush


+step one+

Align your stencil letters in order of what you'd like your door mat to say. Make sure the letters are straight and are in the center of your mat. 


+step two+

Take your paintbrush and dip into paint color. DAB up and down in the stencil. Be sure to saturate well. 
We actually ended up doing two coats to ensure durability. 


Hope you enjoy! It's a super simple DIY with a million different variation possibilities!